
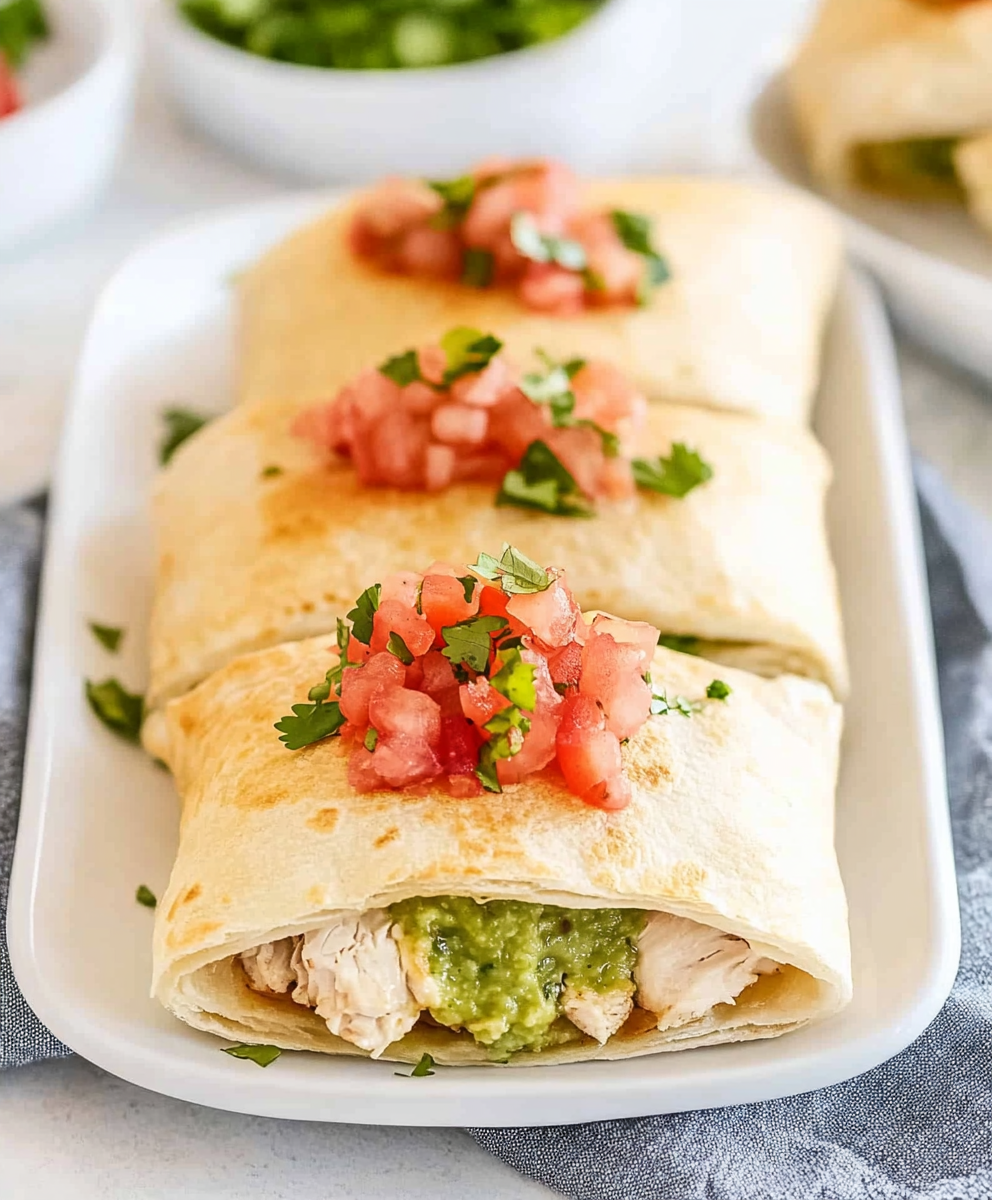
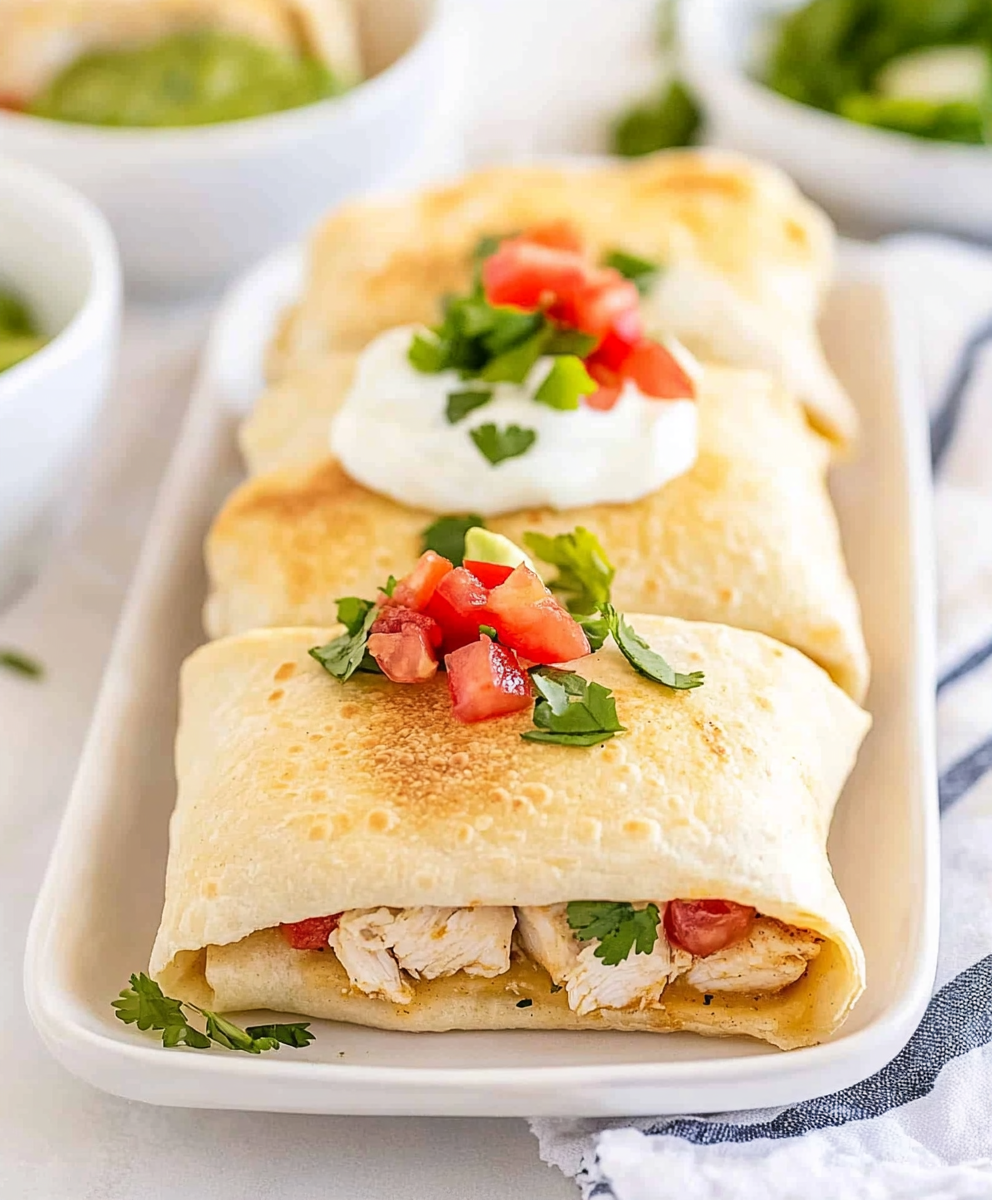
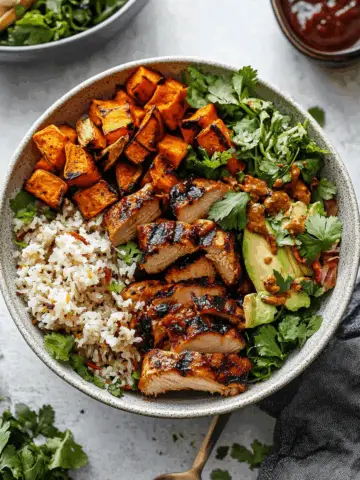
There's something magical about biting into a golden, crispy chimichanga fresh from the oven. The warm, seasoned chicken wrapped in a perfectly toasted tortilla is comfort food at its finest—minus the deep fryer.

I first tried baked chimichangas when craving Mexican takeout but wanting something a bit lighter. This version checks all the boxes: crispy texture, juicy filling, and easy cleanup. Plus, it’s a hit with everyone in my family—even the picky eaters.
Let’s dive into what makes this dish a new weeknight favorite.
Why You'll Love This Baked Chicken Chimichangas Recipe
Get ready to fall in love with your new favorite Tex-Mex dinner. These Baked Chicken Chimichangas are a delicious twist on a classic dish—crunchy on the outside, cheesy and savory on the inside, and all without a drop of deep frying.
First off, these are incredibly easy to make. With just a few simple ingredients and minimal prep time, you’ll have dinner on the table in under 40 minutes. It’s a perfect recipe for busy weeknights when you need something fast but satisfying.
They’re also baked, not fried, which means less mess and fewer calories. You still get that crispy, golden tortilla thanks to a quick brush of oil and a hot oven—but without the need for a deep fryer or standing over the stove.
This recipe is budget-friendly, too. Using pantry staples like canned beans, shredded cheese, and leftover or rotisserie chicken helps keep costs low. It’s proof that you don’t need fancy ingredients for a meal that feels indulgent.
And don’t forget about versatility. These chimichangas are incredibly customizable. Add some diced veggies, swap the cheese, or spice things up with jalapeños—whatever suits your mood or what’s in your fridge.
Once you try this baked version, you’ll never look at frozen chimichangas the same way again.
Ingredients Notes
The beauty of these baked chicken chimichangas is in the simplicity of the ingredients—each one working together to bring bold flavor and the perfect texture.
Flour tortillas are the key to holding everything together. Choose large (burrito-size) tortillas so you can pack in plenty of filling without everything spilling out. The tortilla crisps up beautifully in the oven with just a bit of oil brushed on top.
Shredded cooked chicken forms the heart of the filling. I love using leftover rotisserie chicken for convenience and flavor, but you can also poach or grill your own chicken breasts or thighs. Just be sure the chicken is well-seasoned and shredded for easy rolling.
Refried beans add a creamy, hearty base that balances the shredded chicken. They also help the filling hold together. If you prefer, you can use black or pinto beans, either mashed or whole—just make sure they’re well-drained.
Shredded cheese is a must. I recommend a Mexican blend or sharp cheddar for great meltability and flavor. The cheese binds the filling together and gives that delicious, gooey bite in every chimichanga.
Salsa or green chiles provide the flavor punch. A few spoonfuls of your favorite salsa stirred into the chicken mixture adds moisture and zest. If you like a little heat, diced green chiles or jalapeños are a fantastic addition.
As for equipment, all you’ll need is a baking sheet, parchment paper, and a pastry brush for applying oil to the tortillas. A good skillet for heating the filling also comes in handy.
How To Make This Baked Chicken Chimichangas Recipe
Making baked chicken chimichangas at home is surprisingly easy, and the results are totally worth it. Here’s how to make it happen.
Start by preheating your oven to 400°F. Line a baking sheet with parchment paper for easy cleanup, and get out all your ingredients. If your chicken isn’t already shredded, now’s the time to prep it.
In a large skillet over medium heat, combine the shredded chicken, refried beans, cheese, and salsa or green chiles. Stir everything together until the cheese starts to melt and the mixture is warmed through. Taste and adjust seasoning with salt, pepper, or taco seasoning if desired.
Lay out a tortilla on a flat surface. Spoon a generous amount of the chicken mixture into the center, leaving space on all sides. Fold in the sides first, then roll it up tightly from bottom to top like a burrito. Place seam-side down on your prepared baking sheet.
Brush each rolled chimichanga lightly with olive oil or melted butter—this helps the tortillas crisp up beautifully in the oven. Don’t skip this step, as it makes all the difference in texture.
Bake for 20–25 minutes, flipping once halfway through, until the chimichangas are golden brown and crispy. The cheese inside will be melty and gooey, and the outside perfectly crisp without being greasy.
From start to finish, this recipe takes about 35–40 minutes, including prep. Serve your chimichangas with a side of sour cream, guacamole, or extra salsa for dipping, and enjoy the crunch.
Storage Options
Leftovers? No problem—these baked chimichangas reheat beautifully, making them a great meal prep option for the week.
To store, let the chimichangas cool completely before transferring them to an airtight container. They’ll keep in the fridge for up to 4 days without getting soggy, especially if you reheat them in the oven instead of the microwave.
For longer storage, wrap each chimichanga individually in foil or plastic wrap and place them in a freezer-safe bag. They’ll stay fresh in the freezer for up to 3 months. When you’re ready to enjoy, bake from frozen at 375°F for 25–30 minutes, or until heated through and crisp.
To reheat refrigerated chimichangas, place them in a preheated oven at 375°F for about 10–15 minutes. This helps restore that crispy texture. Microwaving is faster, but you’ll lose some of the crunch unless you finish them off under the broiler for a minute or two.
Variations and Substitutions
One of the best things about this recipe is how easily it adapts to different tastes, dietary needs, and what's already in your fridge or pantry.
If you're looking for a vegetarian option, simply swap the chicken for sautéed vegetables or more beans. Peppers, onions, mushrooms, and zucchini make a hearty, flavorful alternative that even meat-lovers will enjoy.
Prefer beef? Ground beef or shredded pork can be used in place of chicken. Brown the ground meat with taco seasoning before combining with the other filling ingredients for a classic Tex-Mex flavor.
For a dairy-free version, skip the cheese or use a plant-based substitute. You can also replace sour cream toppings with dairy-free yogurt or avocado slices to keep things creamy and delicious.
Want to spice things up? Stir in chopped jalapeños or a pinch of cayenne into the filling. Or serve with a spicy chipotle crema for a little kick.
And if you're gluten-free, use gluten-free tortillas and double-check your beans and salsa for any hidden gluten. You’ll still get all the great flavors without compromise.
No matter how you mix it up, this baked chimichanga recipe is the kind of flexible, family-friendly meal that works again and again. Don’t be afraid to get creative—you might just invent your own signature version.
Print
Baked Chicken Chimichangas Recipe
- Total Time: 35 minutes
- Yield: 4 servings
- Diet: Gluten Free
Description
Enjoy a healthier version of a Mexican classic with this Baked Chicken Chimichangas recipe. Perfectly seasoned chicken wrapped in a flour tortilla, baked to golden perfection for a crispy, guilt-free dinner. Easy to make and loaded with flavor!
Ingredients
2 cups cooked shredded chicken
1 cup shredded cheese (cheddar or Mexican blend)
½ cup salsa
½ teaspoon ground cumin
½ teaspoon chili powder
¼ teaspoon garlic powder
Salt and pepper to taste
4 large flour tortillas
Cooking spray or olive oil
Optional toppings: sour cream, guacamole, chopped cilantro
Instructions
- Preheat oven to 400°F (200°C).
- In a bowl, mix chicken, cheese, salsa, cumin, chili powder, garlic powder, salt, and pepper.
- Spoon mixture into center of each tortilla. Fold sides and roll up tightly.
- Place seam-side down on a baking sheet lined with parchment paper.
- Lightly spray or brush tops with cooking spray or olive oil.
- Bake for 20-25 minutes or until golden brown and crispy.
- Serve warm with your favorite toppings.
Notes
For extra crispiness, flip chimichangas halfway through baking. You can also add beans or rice to the filling.
- Prep Time: 10 minutes
- Cook Time: 25 minutes
- Category: Dinner
- Method: Baking
- Cuisine: Mexican
Nutrition
- Serving Size: 1 chimichanga
- Calories: 420
- Sugar: 2g
- Sodium: 620mg
Leave a Reply