
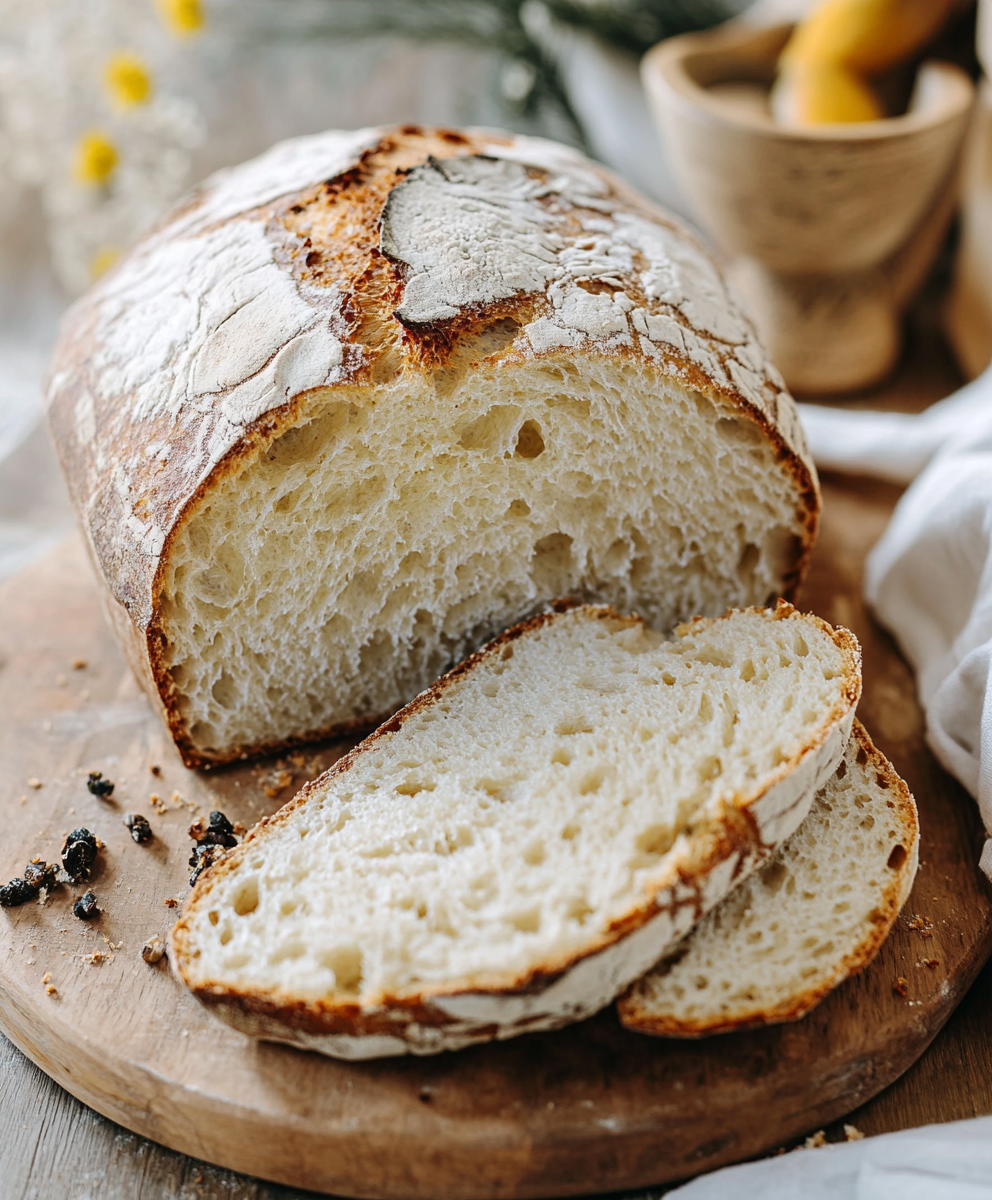
There’s something deeply comforting about the smell of homemade sourdough bread filling your kitchen. The crisp crust, the chewy interior, and that unmistakable tangy flavor make each loaf feel like a small triumph.

My love affair with sourdough started during a quiet weekend when I decided to try baking from scratch. What began as an experiment quickly turned into a weekly ritual. This recipe has become my go-to – easy enough for beginners, yet satisfying enough for seasoned bakers.
Let’s dive into what makes this sourdough recipe a favorite for any home baker.
Why You'll Love This Homemade Sourdough Bread
Get ready to discover your new baking obsession. This sourdough bread recipe is not only approachable but also incredibly rewarding.
First, it’s surprisingly simple, even for beginners. With just a few ingredients and a little patience, you can create bakery-worthy loaves without fancy equipment or complicated steps.
Second, it’s budget-friendly. Flour, water, and salt are the main players here. Once your sourdough starter is established, the ongoing cost is almost nothing. It’s an affordable way to make fresh, artisanal bread right at home.
You’ll also love the health benefits. This naturally fermented bread is easier to digest than many commercial varieties, and the slow fermentation can even help lower the glycemic index of the finished loaf.
Finally, it’s an incredibly satisfying project. There’s a special kind of joy that comes from watching your dough rise, crackle in the oven, and transform into a beautiful, golden crust. It’s as much about the process as it is about the final product.
Once you bake your first successful loaf, you’ll be hooked. Let’s take a look at the ingredients that make it all happen.
Ingredients Notes
This sourdough recipe uses just a handful of ingredients, but each one plays an essential role in flavor, structure, and texture.
Bread flour is the foundation of this recipe. With its high protein content, it provides the necessary gluten development that gives sourdough its chewy texture and beautiful rise. All-purpose flour can be used in a pinch, but the results won't be quite as lofty or structured.
Sourdough starter is the heart of this recipe. A bubbly, active starter is crucial for proper fermentation. If you’re new to sourdough, you’ll need to build your starter about a week in advance. Once established, it only takes a bit of daily maintenance to keep it healthy and ready to use.
Water might seem like a filler ingredient, but its temperature and quality matter. Use filtered or bottled water if your tap water is heavily chlorinated, as chlorine can inhibit fermentation. Lukewarm water helps kickstart the activity in your starter during mixing.
Salt not only adds flavor but also strengthens the dough by tightening gluten strands. It’s best to add salt after the initial autolyse (resting) stage to avoid interfering with hydration and gluten formation.
As for equipment, a few key tools will make your life easier: a kitchen scale for precise measurements, a Dutch oven or heavy baking pot for steam retention, and a banneton basket or bowl lined with a towel for proofing. While none are strictly required, they’ll dramatically improve your results.
How To Make This Homemade Sourdough Bread

Making sourdough bread at home involves a slow, hands-on process, but it’s far from complicated. Here’s how it comes together from start to finish.
Start by feeding your sourdough starter 4-6 hours before you plan to mix the dough. It should be bubbly, doubled in size, and pass the float test – meaning a small spoonful should float in water when it's ready to use.
In a large bowl, combine your flour and water and mix until no dry bits remain. This begins the autolyse phase, where the flour hydrates and gluten starts forming naturally. Let it rest for 30 to 45 minutes before adding the salt and starter.
After the autolyse, add your salt and sourdough starter. Mix everything thoroughly using the “stretch and fold” method. Gently pull one side of the dough up and fold it over onto itself, turning the bowl as you go. This helps incorporate air and build structure without overworking the dough.
Over the next 4-6 hours, perform a series of stretch and folds every 30 minutes during bulk fermentation. During this stage, the dough should become noticeably smoother, more elastic, and puffier with each fold. Keep it covered and at room temperature while it ferments.
Once bulk fermentation is complete, gently turn the dough onto a lightly floured surface. Shape it into a round or oval loaf and place it seam-side up in a floured proofing basket or bowl. Cover and refrigerate overnight for the final cold proof – this slow rest enhances flavor and helps the dough firm up for easier scoring.
The next day, preheat your oven to 475°F with a Dutch oven inside. Once hot, carefully transfer your dough onto parchment, score the top with a razor blade or sharp knife, and place it into the Dutch oven. Bake covered for 20 minutes, then uncover and bake for another 20-25 minutes until deeply golden and crisp.
From start to finish, the process takes about 24 hours, but most of that is hands-off time. You’ll be amazed at how such a simple method yields a gorgeous, flavorful loaf.
Storage Options
Fresh sourdough bread is best enjoyed the day it’s baked, but it stores well if kept properly.
Once cooled completely, store your loaf at room temperature in a paper bag, bread box, or wrapped in a clean kitchen towel. This allows the crust to stay crisp while protecting the interior. Avoid storing it in plastic, as that will soften the crust quickly.
For longer storage, sourdough freezes beautifully. Slice the entire loaf first, then store the slices in a freezer-safe bag. This makes it easy to pull out just what you need without thawing the whole loaf.
To reheat, pop slices straight from the freezer into a toaster or warm them in the oven at 350°F for 5-10 minutes. If you’ve frozen a whole loaf, let it thaw at room temperature before refreshing it in a warm oven to bring back the crust.
Properly stored, sourdough bread can last 4-5 days at room temperature and up to 3 months in the freezer without losing flavor or texture.
Variations and Substitutions
One of the best things about sourdough baking is how adaptable it is. Once you’ve mastered the basic loaf, the possibilities are endless.
Try using a mix of flours like whole wheat, rye, or spelt to add complexity and depth. Start by swapping out 10-20% of the bread flour and see how the dough behaves – each flour absorbs water differently and brings its own flavor.
Add-ins like roasted garlic, olives, or herbs can take your sourdough from everyday to gourmet. Fold them in gently during the final set of stretch and folds to keep the structure intact.
For a sweeter take, consider incorporating dried fruit and nuts. Think cranberries and walnuts, figs and hazelnuts, or even chocolate chips for a breakfast-style loaf.
If you’re gluten-sensitive but not celiac, you might experiment with longer fermentation times to help break down gluten proteins further. Some people find this makes sourdough easier to digest.
Don’t be afraid to play with shaping and scoring, either. From rustic boules to elegant batards, each style creates a different crust and crumb. Scoring lets you express creativity while giving the loaf room to expand.
Experimenting with sourdough is part of the fun. Trust your instincts, take notes, and enjoy the delicious learning process with each loaf you bake.
Print
Homemade Sourdough Bread Recipe
- Total Time: 12 hours 45 minutes
- Yield: 1 loaf
- Diet: Vegetarian
Description
Discover how to make the best homemade sourdough bread with simple ingredients. This artisan recipe uses natural fermentation for a deliciously tangy flavor and rustic crust. Ideal for beginners and seasoned bakers alike, this sourdough bread recipe delivers authentic results every time.
Ingredients
500g bread flour
100g active sourdough starter
350ml water
10g salt
Instructions
In a large bowl, mix the flour and water. Let it rest (autolyse) for 1 hour.
Add sourdough starter and salt to the dough. Mix well until incorporated.
Perform stretch and folds every 30 minutes for the next 2 hours.
Cover and let the dough rise at room temperature for 4–6 hours or until doubled in size.
Shape the dough into a boule or batard. Place in a floured banneton.
Refrigerate overnight for cold proofing (8–12 hours).
Preheat oven to 475°F (245°C) with Dutch oven inside.
Score the dough and transfer to hot Dutch oven.
Bake covered for 20 minutes, then uncover and bake for 20–25 more minutes until golden brown.
Cool on a wire rack before slicing.
Notes
Make sure your starter is active and bubbly before use.
Cold proofing enhances flavor and texture.
Baking times may vary depending on oven.
- Prep Time: 12 hours (including resting and proofing)
- Cook Time: 45 minutes
- Category: Bread
- Method: Baking
- Cuisine: American, European
Nutrition
- Serving Size: 1 slice (approx. 75g)
- Calories: 180
- Sugar: 0g
- Sodium: 240mg


Leave a Reply