
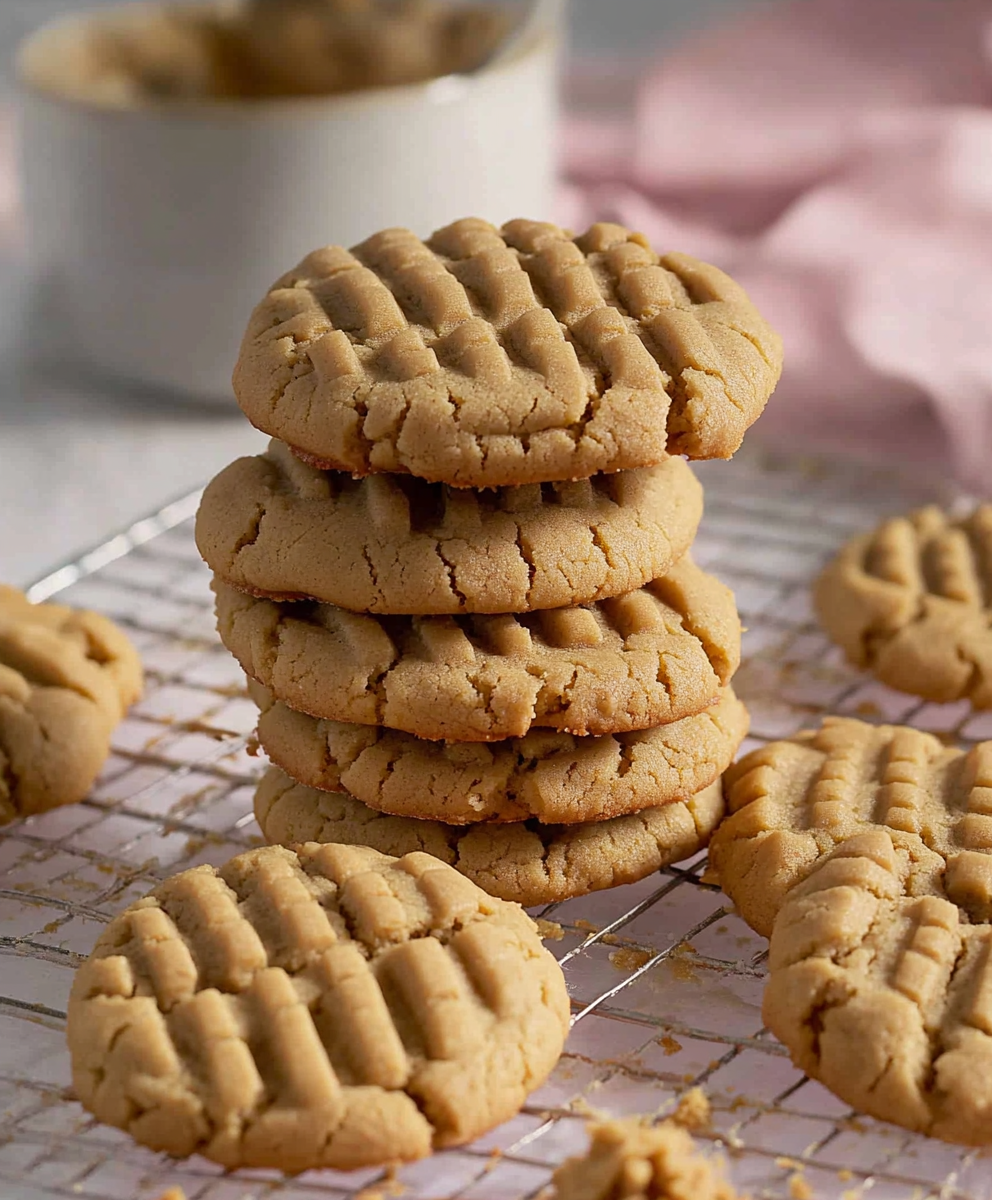
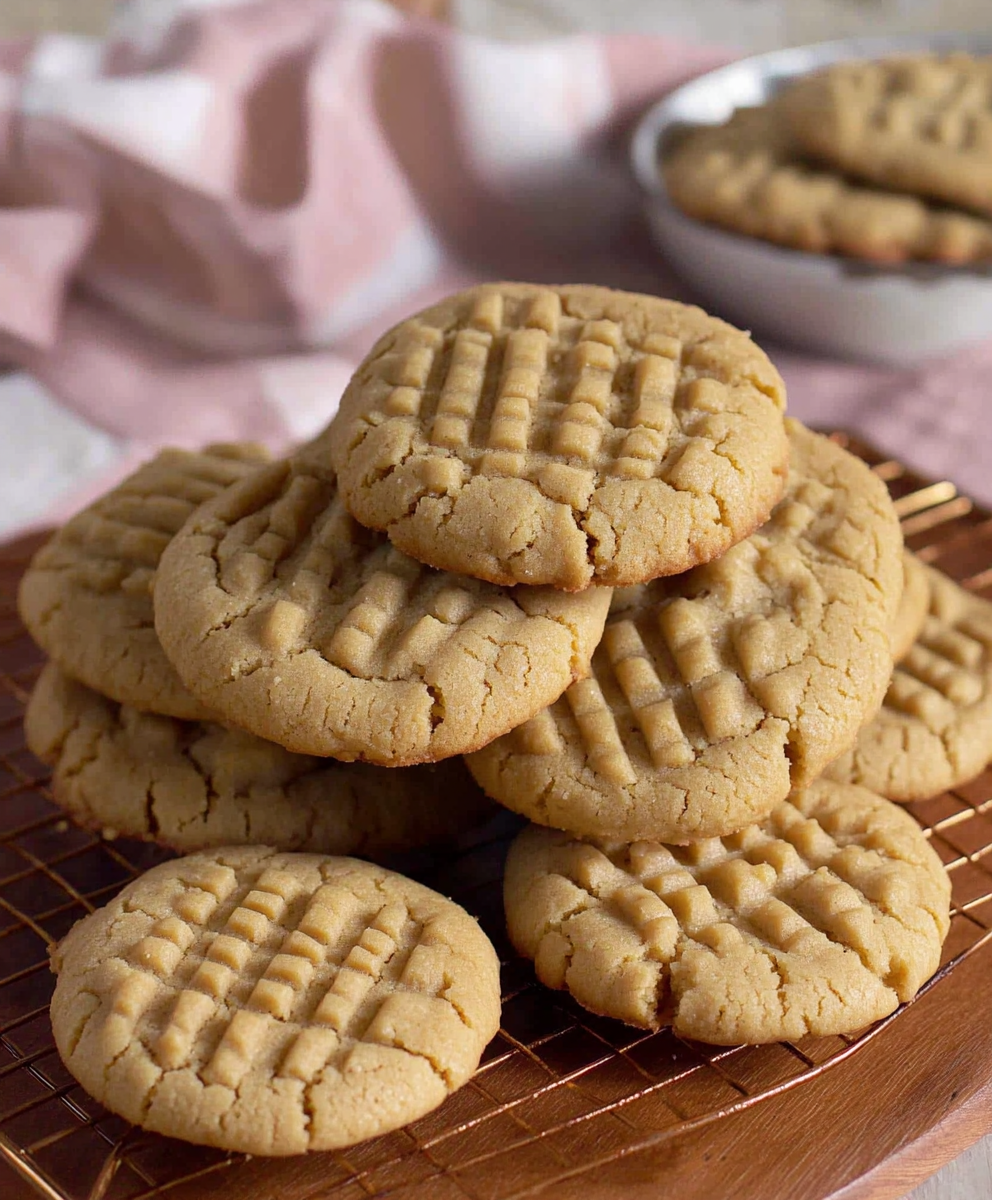
There’s something special about a classic peanut butter cookie, especially when it comes from a beloved family recipe. These cookies, passed down from Jimmy Carter’s grandmother, are rich, nutty, and perfectly crisp around the edges with a soft, chewy center.

I first came across this recipe while researching old Southern baking traditions. With simple pantry staples and an easy-to-follow method, these cookies quickly became a go-to treat in my home. Each bite carries a nostalgic sweetness, reminding me of lazy Sunday afternoons and the comforting aroma of fresh-baked cookies.
Let’s dive into what makes these peanut butter cookies so special.
Why You'll Love This Recipe
Get ready to bake a batch of cookies that will become an instant favorite. These peanut butter cookies are not just delicious—they’re a piece of history.
First, they come together with just a few basic ingredients, making them an easy treat to whip up whenever a craving strikes. You don’t need any fancy equipment or hard-to-find items—just the basics from your pantry.
They have the perfect texture. The edges are slightly crisp, while the centers stay soft and chewy. Each bite delivers a deep, roasted peanut flavor balanced with just the right amount of sweetness.
These cookies store well, so you can make a big batch and enjoy them for days. They hold up beautifully in an airtight container, making them great for lunchboxes, bake sales, or gifting.
Plus, they’re a taste of Southern tradition. If you love old-fashioned recipes with a rich history, this one is a must-try.
Ingredients Notes
The beauty of this recipe lies in its simplicity. Every ingredient plays a role in creating the ideal balance of flavor and texture.
Peanut butter is the star of the show. For the most authentic flavor, use a classic creamy peanut butter like Jif or Skippy. While natural peanut butter can work, it may alter the texture slightly, making the cookies more crumbly.
Butter adds richness and ensures a tender bite. Make sure it’s softened to room temperature so it blends smoothly into the dough. Using unsalted butter allows you to control the salt level in the recipe.
Brown sugar and granulated sugar work together to create the perfect chewiness. The brown sugar adds a deep caramel-like flavor, while the granulated sugar provides structure. Using a mix of both is key to getting that signature texture.
Eggs help bind the dough and keep the cookies from becoming too dry. For best results, use large eggs at room temperature.
All-purpose flour gives the cookies their shape and structure. Be sure to measure it correctly—scooping directly from the bag can pack too much flour into your measuring cup. Instead, fluff it up and spoon it into the cup before leveling it off.
A touch of baking soda ensures the cookies rise just enough, while a pinch of salt enhances all the flavors, making each bite even more delicious.
How To Make This Recipe
Making these cookies is as simple as mixing, scooping, and baking. Let’s walk through each step so you can get perfect results every time.
Start by preheating your oven to 350°F. Line a baking sheet with parchment paper to prevent sticking and ensure even baking. This small step makes cleanup easier and helps the cookies bake to golden perfection.
In a large mixing bowl, cream together the butter, peanut butter, and both sugars. Use a hand mixer or stand mixer on medium speed until the mixture is light and fluffy. This step helps aerate the dough, creating a softer texture in the finished cookies.
Next, add the eggs one at a time, mixing well after each addition. Stir in the vanilla extract for a hint of warm sweetness that complements the peanut butter beautifully.
In a separate bowl, whisk together the flour, baking soda, and salt. Gradually add this dry mixture to the wet ingredients, mixing just until everything is combined. Overmixing can lead to dense cookies, so stop as soon as you no longer see streaks of flour.
Scoop out tablespoon-sized portions of dough and roll them into balls. Place them on the prepared baking sheet, spacing them about two inches apart. Using a fork, gently press down on each cookie in a crisscross pattern. This not only gives them their classic look but also helps them bake evenly.
Bake for 10-12 minutes, or until the edges turn a light golden brown. The centers may look slightly underbaked, but they will firm up as they cool. Let the cookies rest on the baking sheet for about five minutes before transferring them to a wire rack to cool completely.
Storage Options
These cookies stay fresh for up to five days when stored in an airtight container at room temperature. To maintain their chewiness, you can add a slice of bread to the container—the cookies will absorb moisture from the bread and stay soft.
For longer storage, freeze the cookies in a sealed freezer bag for up to three months. When you’re ready to enjoy them, let them thaw at room temperature for about 15 minutes, or warm them in the microwave for a few seconds to bring back their fresh-baked taste.
If you’d like to freeze the dough instead, scoop it into balls and arrange them on a baking sheet. Freeze until solid, then transfer the dough balls to a freezer-safe bag. When baking from frozen, add an extra minute or two to the baking time.
Variations and Substitutions
One of the best things about this recipe is how versatile it is. Here are a few ways to switch things up while keeping the cookies just as delicious.
For a chunkier cookie, stir in a handful of chopped peanuts or chocolate chips. The extra texture makes each bite even more satisfying.
If you prefer a deeper peanut flavor, try using crunchy peanut butter instead of creamy. This small swap gives the cookies a more pronounced nuttiness with little bits of peanut throughout.
To make them gluten-free, use a 1:1 gluten-free flour blend. These blends are designed to work as a direct replacement for all-purpose flour, so the cookies will still have the perfect texture.
For a dairy-free version, replace the butter with a plant-based alternative like coconut oil or a dairy-free butter substitute. The cookies will still be rich and delicious, with just a slightly different texture.
Want a fun twist? Sandwich two cookies together with a layer of peanut butter or chocolate ganache in the middle for a decadent treat.
No matter how you choose to enjoy these cookies, they’re bound to become a favorite in your home. With their simple ingredients, nostalgic flavor, and perfect texture, it’s easy to see why this recipe has stood the test of time. Happy baking!
Print
Jimmy Carter’s Grandmother’s Peanut Butter Cookies Recipe
- Total Time: 20 minutes
- Yield: 12 cookies
- Diet: Gluten Free
Description
Enjoy the rich, nutty goodness of Jimmy Carter’s Grandmother’s Peanut Butter Cookies. This classic Southern recipe creates soft, chewy cookies packed with peanut butter flavor. Perfect for any occasion!
Ingredients
- 1 cup peanut butter
- 1 cup granulated sugar
- 1 egg
- 1 teaspoon vanilla extract
- ½ teaspoon baking soda
- ¼ teaspoon salt
Instructions
- Preheat oven to 350°F (175°C). Line a baking sheet with parchment paper.
- In a bowl, mix peanut butter, sugar, egg, vanilla, baking soda, and salt until smooth.
- Roll dough into 1-inch balls and place on the baking sheet. Flatten with a fork in a crisscross pattern.
- Bake for 8-10 minutes or until golden.
- Let cool on the baking sheet for a few minutes, then transfer to a wire rack.
Notes
- For extra crunch, use chunky peanut butter.
- Add chocolate chips for a twist.
- Store in an airtight container for up to a week.
- Prep Time: 10 minutes
- Cook Time: 10 minutes
- Category: Dessert
- Method: Baking
- Cuisine: Southern, American
Nutrition
- Serving Size: 1 cookie
- Calories: 120
- Sugar: 9g
- Sodium: 60mg


Leave a Reply